Recipe Guide · 5 min read
How to Carve a Roast Chicken
Carve a roast chicken neatly in about five minutes: what tools you need, how long to rest it, and how to remove the legs, wings and breast in clean slices.
By Tasty Nest Recipes Editorial Team · Published
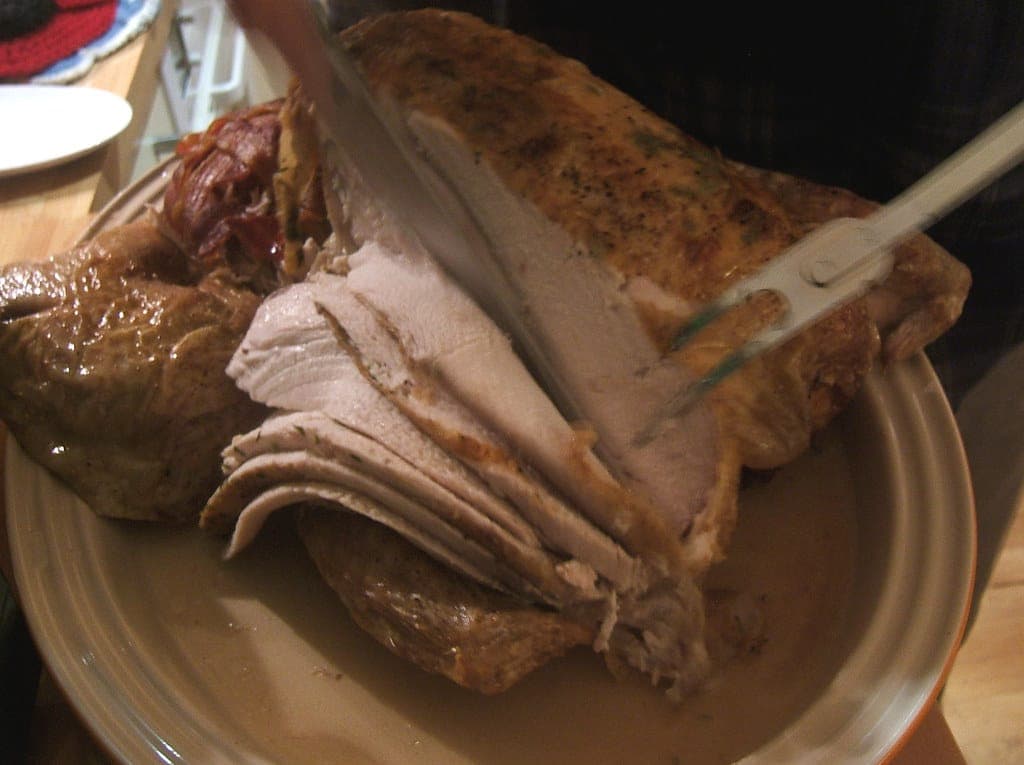
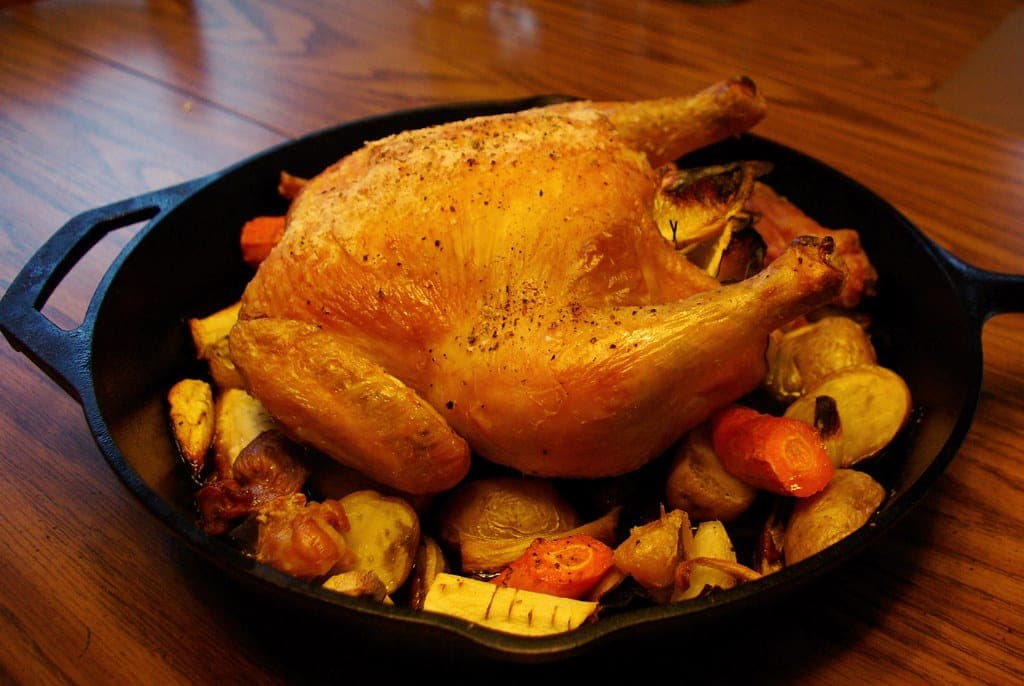
Photo: WordRidden · CC BY 2.0. Illustrative photo; your results may look different.
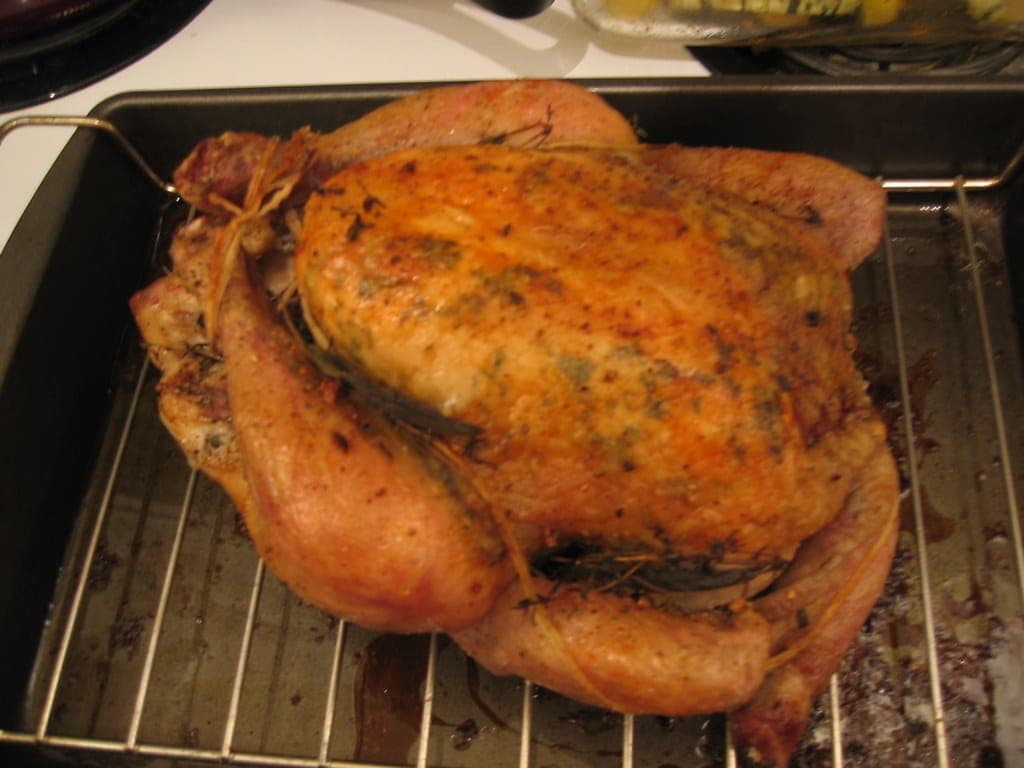 This guide goes with our recipeLemon Herb Roast Chicken 1 hr 45 min · 4 servings
You have roasted a beautiful chicken, the skin is golden and the kitchen smells wonderful. Now comes the part that makes many cooks nervous: carving it. The good news is that carving a chicken is far easier than it looks. A chicken is built the same way every time, and once you know where the joints are, the knife does most of the work.
This guide walks through the whole process, from resting the bird to arranging the platter. It works for any whole roast chicken, including our Lemon Herb Roast Chicken, and takes about five minutes once you have done it a couple of times.
What you need
You do not need special equipment, but a few basics make the job cleaner and safer.
- A sharp knife with a blade of about 8 inches (20 cm). A chef's knife works as well as a dedicated carving knife; sharpness matters more than shape.
- A large cutting board, ideally with a groove around the edge to catch juices.
- A carving fork or a pair of tongs to steady the bird. A clean kitchen towel or paper towel works too.
- A warm platter for serving, and a small bowl for the bones and carcass.
Rest before you carve
Let the chicken rest on the cutting board for 10 to 15 minutes after it comes out of the oven. Resting lets the juices settle back into the meat, so less of them end up on the board, and it lets the bird cool just enough to handle comfortably.
Use this time to make a pan sauce or finish your side dishes. Avoid covering the chicken tightly with foil; trapped steam softens the skin. If your kitchen is cold, a loose tent of foil is plenty.
Step-by-step carving
Place the chicken breast side up with the legs pointing towards you. Remove any kitchen twine before you begin. Work on one side at a time, then repeat on the other.
1. Remove the legs and thighs
Pull one leg gently away from the body and slice through the skin between the thigh and the breast. Keep pulling the leg outwards and down; you will see the thigh joint pop out of its socket. Cut through the joint to free the whole leg. If you meet hard resistance, you are cutting bone rather than joint: wiggle the leg to find the gap and try again a little to one side.
To separate the drumstick from the thigh, place the leg skin side down and look for the thin line of fat that marks the knee joint. Cut straight down through that line. The two pieces should come apart easily.
2. Remove the wings
Pull a wing away from the body to expose the shoulder joint, then cut through it, just as you did with the leg. Some cooks prefer to leave the wings attached to the breast for presentation; either way is fine.
3. Remove and slice the breast
Find the breastbone, the ridge running down the centre of the bird. Make a long cut along one side of it, keeping the knife close to the bone. Then use short strokes to follow the curve of the ribcage, gently pulling the breast meat away with your other hand as you go, until the whole breast half comes off in one piece.
Lay the breast skin side up on the board and slice it across the grain into pieces about half an inch (1 cm) thick. Slicing a removed breast like this, rather than carving thin slices directly off the bird, keeps the skin attached to each slice and gives neater, juicier pieces.
4. Repeat on the other side
Turn the board around and repeat steps 1 to 3. Do not forget the two small, tender pieces of meat on the back of the bird, near the thighs, often called the oysters. Scoop them out with your fingertips or the tip of the knife.
Serving and keeping it warm
Arrange the dark meat (drumsticks and thighs) at one end of a warm platter and the sliced breast at the other, so everyone can choose easily. Spoon a little of the pan juices over the breast slices just before serving to keep them moist.
If you are not serving straight away, keep the platter in a low oven at about 200°F (95°C) for up to 15 minutes. Any longer and the meat will start to dry out.
What to do with the carcass
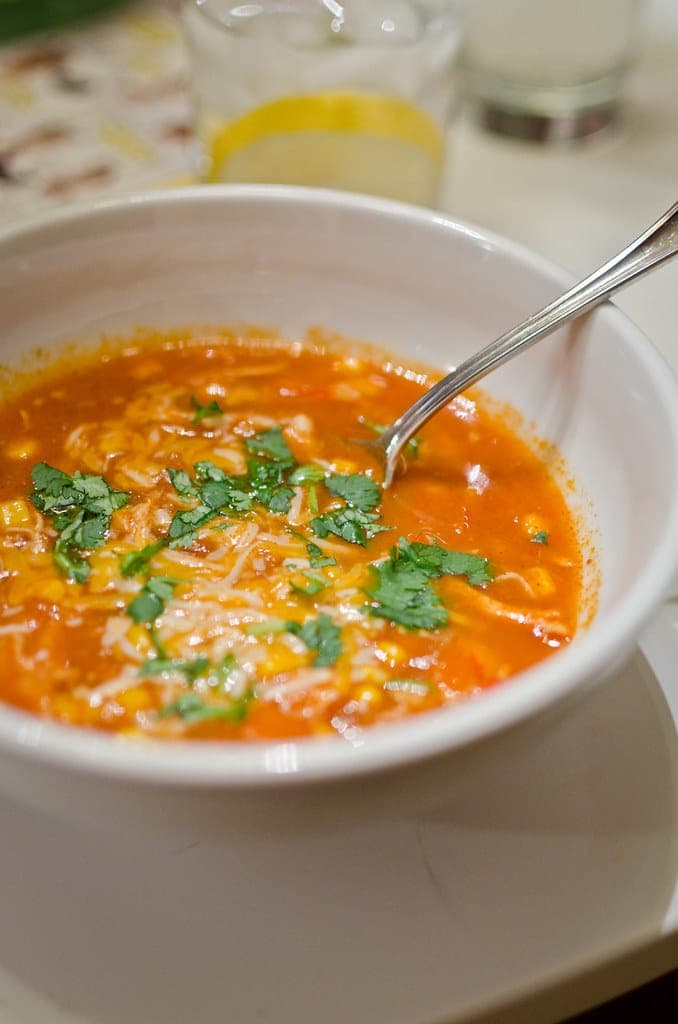
Pick off any remaining meat for leftovers, then save the carcass. It makes an excellent homemade stock, and the meat is perfect for soups such as our Chicken Tortilla Soup. If you are not making stock the same day, wrap the carcass and refrigerate it within two hours, or freeze it for later.
Frequently asked questions
Should you carve chicken hot or let it rest first?
Let it rest for 10 to 15 minutes. Carving immediately releases more juice onto the board, and the bird is too hot to handle comfortably. After resting it will still be warm enough to serve.
What knife is best for carving chicken?
Any sharp, fairly long knife works. A chef's knife or a carving knife of about 8 inches is ideal. Serrated bread knives tear the meat and make ragged slices, so avoid them if you can.
How do you carve chicken without a carving fork?
Steady the bird with tongs, the flat of a spatula or your hand protected by a folded clean kitchen towel. Once the legs are removed, the bird sits flatter and is much easier to hold still.
The bottom line
Carving a roast chicken comes down to three moves: free the legs at the hip joint, free the wings at the shoulder, and lift each breast off the bone in one piece before slicing it. Rest the bird first, use a sharp knife and let the joints guide you. After a couple of chickens, it will feel completely natural.
Ready to cook?
Put this into practice with our lemon herb roast chicken recipe, or browse more chicken recipes.
Put it into practice
Recipes to try
More guides
Recipe Guide · 4 min read
How to Dry Brine a Whole Chicken
Dry brining is the simplest way to a juicier, better-seasoned roast chicken. Learn how much salt to use, how long to leave it and how it helps the skin crisp.
Recipe Guide · 4 min read
Why Isn't My Roast Chicken Skin Crispy?
Soft, pale skin on a roast chicken almost always comes down to moisture or heat. Find the cause of yours and the fix, plus how to re-crisp skin after cooking.
Recipe Guide · 4 min read
What to Do With Leftover Roast Chicken
Turn leftover roast chicken into soups, salads, pasta and more. Twelve easy ideas, plus how to store and reheat cooked chicken safely so nothing goes to waste.
Breakfast Guide · 4 min read
How to Poach an Egg
Learn how to poach an egg with a neat, tender white every time: choosing eggs, water temperature, timing for soft or firm yolks, and how to poach eggs ahead.