Kimchi Fried Rice
Day-old rice stir-fried with tangy kimchi, gochujang and scallions, then topped with a fried egg. A 20-minute Korean favourite made from leftovers.
By Tasty Nest Recipes Editorial TeamPublished
20 min total 2 servingsEasy
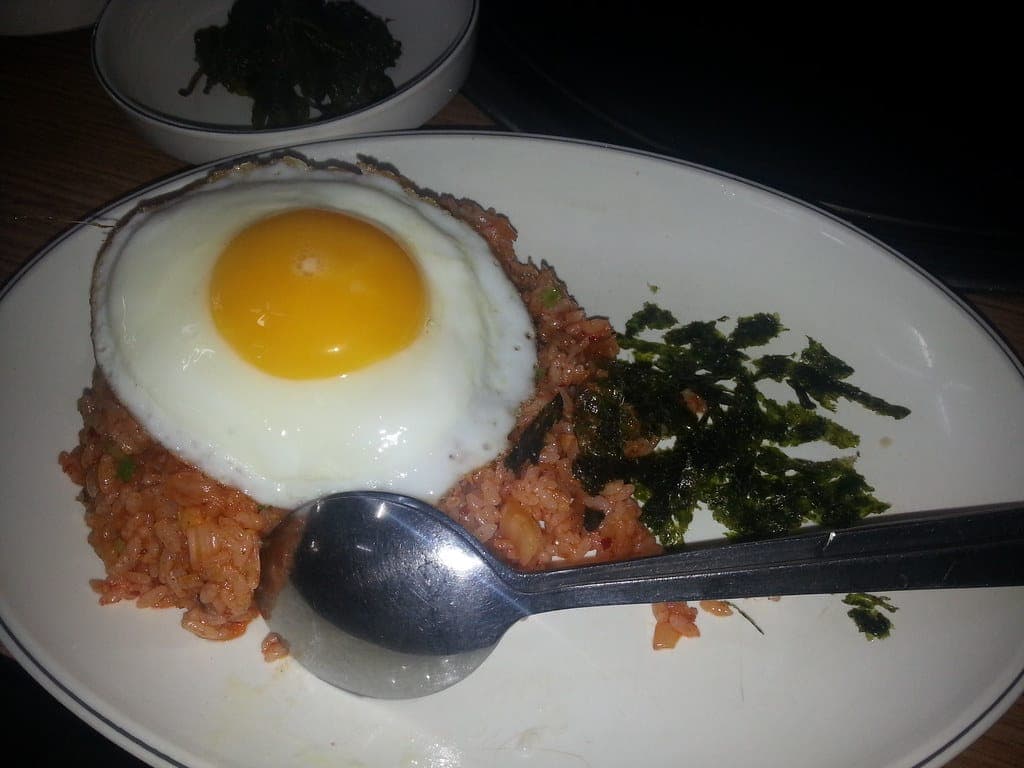
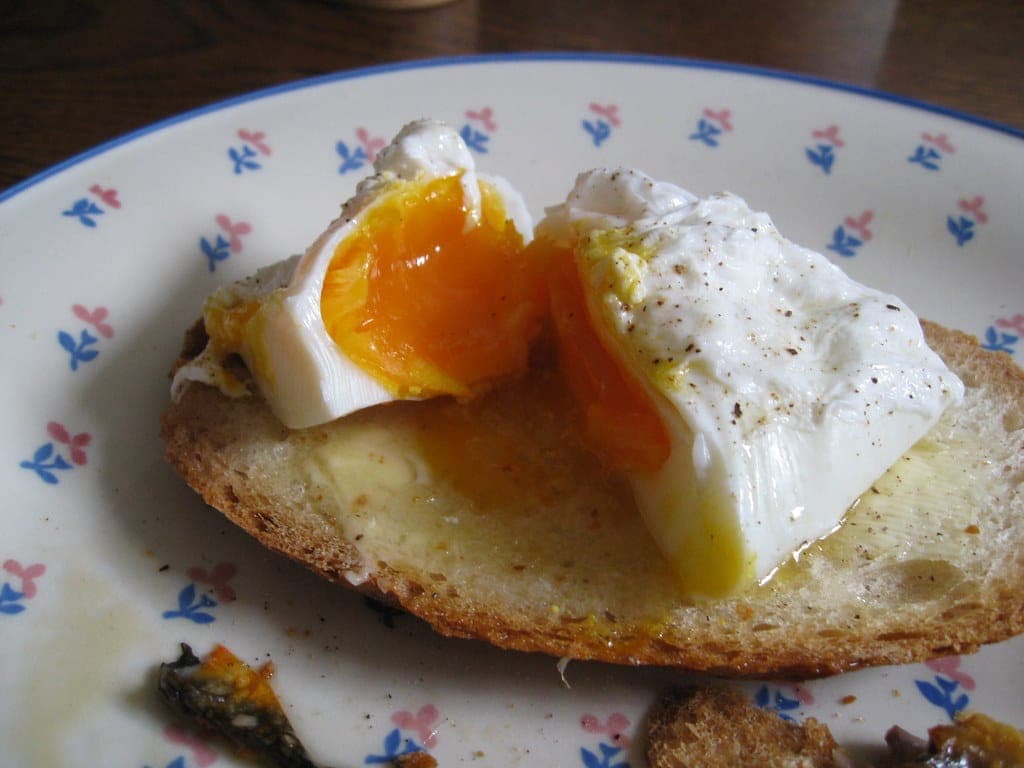
Photo: Azchael · CC BY 2.0. Illustrative photo; your results may look different.
About this recipe
Kimchi fried rice (kimchi bokkeumbap) is one of the best ways to use up leftover rice. Well-fermented kimchi brings sourness, heat and depth, so you need very few other ingredients to make something delicious.
Use cold, cooked rice from the day before if you can. Freshly cooked rice is soft and steamy and turns mushy in the pan, while chilled rice has firmed up and fries into separate, slightly crisp grains.
A runny fried egg on top is traditional and makes a rich sauce when broken into the rice. Toasted sesame seeds and strips of roasted seaweed finish it off.
Equipment you'll need
- Large nonstick skillet or wok
Tips for success
- Older, sourer kimchi has more flavour for cooking than freshly made kimchi.
- Kimchi and gochujang vary in salt and heat, so taste before adding soy sauce.
- Cooked rice should be cooled and refrigerated within two hours of cooking and used within 3 to 4 days.
- Official food-safety guidance recommends cooking eggs until the yolk is firm, especially for anyone who is pregnant, very young, older or immunocompromised. Cover the pan for a minute to set the yolk, or use pasteurised eggs if you prefer it runny.
Substitutions and variations
- Add diced cooked ham, bacon, tofu or leftover chicken with the kimchi.
- Replace the gochujang with 1/2 teaspoon of Korean chilli flakes (gochugaru) for heat without sweetness.
- Use brown rice or a mix of rice and quinoa, as long as it is cold and cooked.
Storage and reheating
To store: Refrigerate leftovers (without the egg) in an airtight container for up to 3 days.
To reheat: Reheat in a hot skillet with a splash of water, stirring, until steaming hot throughout, then top with a freshly fried egg.
Recipe
Kimchi Fried Rice
Day-old rice stir-fried with tangy kimchi, gochujang and scallions, then topped with a fried egg. A 20-minute Korean favourite made from leftovers.
- Prep
- 5 min
- Cook
- 15 min
- Total
- 20 min
- Yield
- 2 servings
- Level
- Easy
Ingredients
Tick off ingredients as you gather them.
For the rice
To serve
Instructions
Step 1: Break up the rice
Use your hands to break up any clumps in the cold rice so the grains are separate. This helps it fry evenly.
Step 2: Cook the kimchi
Heat the oil in the skillet over medium-high heat. Add the white parts of the scallions and cook for 30 seconds. Add the chopped kimchi and stir-fry for 3 to 4 minutes, until it softens and starts to caramelise at the edges.
Step 3: Add the gochujang
Stir in the gochujang and the kimchi juice and cook for 30 seconds until it coats the kimchi.
Step 4: Fry the rice
Add the rice and toss with the kimchi until evenly red. Spread it out and leave it undisturbed for 1 to 2 minutes so the bottom crisps slightly, then toss and repeat once or twice. Season with the soy sauce and sesame oil, taste and adjust.
Step 5: Fry the eggs
In a separate pan, heat the remaining oil over medium heat and fry the eggs until the whites are set and the edges are lacy. Cook the yolks to your liking; see the tips below.
Step 6: Serve
Divide the rice between two bowls, top each with an egg and sprinkle with the scallion greens, sesame seeds and seaweed strips.
Cuisine: Korean · Course: Main course
Estimated nutrition per serving
- Calories
- 490
- Protein
- 12 g
- Fat
- 17 g
- Carbs
- 71 g
- Fibre
- 3 g
- Sugars
- 6 g
Approximate values estimated from typical nutrition data for the listed ingredients, excluding optional toppings and serving suggestions. Actual values vary with brands, portion sizes and substitutions. Not verified by a dietitian or laboratory analysis.
tastynestrecipes.com/recipes/kimchi-fried-rice
Cook it with confidence
Guides for this recipe
Techniques, troubleshooting and leftover ideas to help you get the most from your kimchi fried rice.
Breakfast Guide · 4 min read
How to Poach an Egg
Learn how to poach an egg with a neat, tender white every time: choosing eggs, water temperature, timing for soft or firm yolks, and how to poach eggs ahead.
Keep cooking